
Here's How To Make Your AI Images Talk: A Step-by-Step Guide
Here's how you can create a viral talking AI-influencer video with 5 AI tools.
This article was originally published in https://www.generativeaipub.com/p/heres-how-viral-talking-ai-influencers
------
As an AI enthusiast and tech writer, my social media feed is basically a curated gallery of AI-generated media—images, audio, and videos. In recent weeks, one trend has been impossible to miss: viral videos of AI-generated talking influencers. It’s wild how convincing they look (and sometimes how unsettling too).
I mean, just take a look at how impressive these videos are:
I’ll be honest, the uncanny valley is still very much alive in these videos. There’s something about them that feels just a little too artificial, but at the same time, you can’t deny how far AI has come in just the past few months.
It’s mind-blowing and kind of terrifying. You know things are advancing way too fast when AI-generated people start giving TED Talks that make you do a double-take.
From the Ted Talk photos, people started pushing the limits even further, turning those images into videos using AI tools like Runway Gen-3 Turbo and Kling AI. To add that final touch of realism, they threw in some AI-generated voiceovers and lip syncing using RenderNet AI to bring these digital influencers to life.
In this article, I’ll guide you through the complete workflow to create your very own talking AI influencer using four AI tools:
- Midjourney or Flux for images
- Freepik Upscaler
- Kling AI to turn the image into video
- RenderNet AI to produce lip-synced videos
Let’s get started.
Step 1: Generate Images
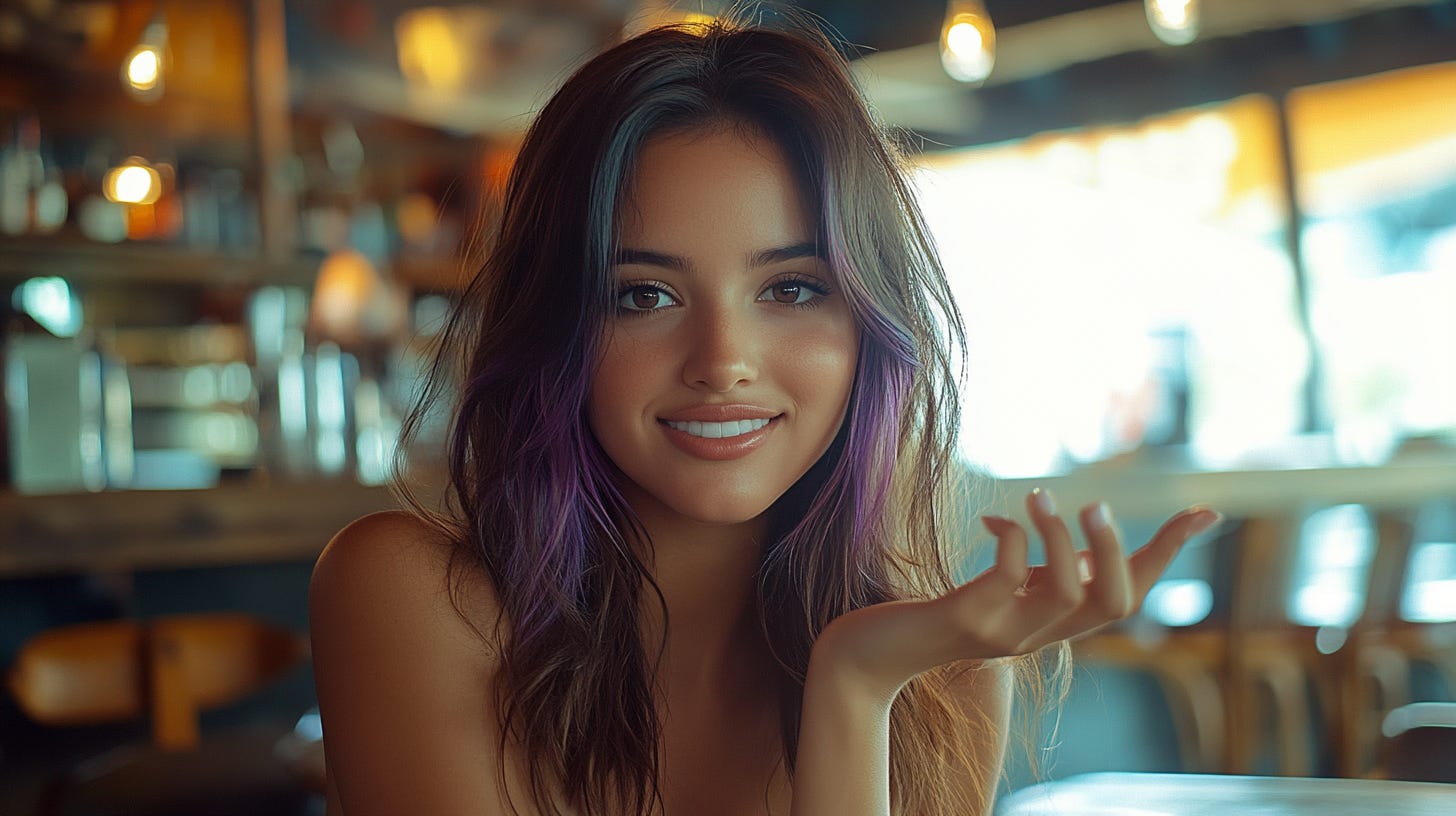
The first step is to generate photorealistic portraits of your AI influencer. You could use any image generator out there, but if you’re aiming for top-notch realism, I recommend Midjourney or Flux.
Here’s an example image generated with Midjourney:
Prompt: A cinematic photography, medium shot, glamour instagram latina woman. She has brown hair with purple highlights. glamour woman. She has a pretty face, She is sitting in a coffee in bar. An influencer, smiling face, with hand gestures as if she’s explaining something
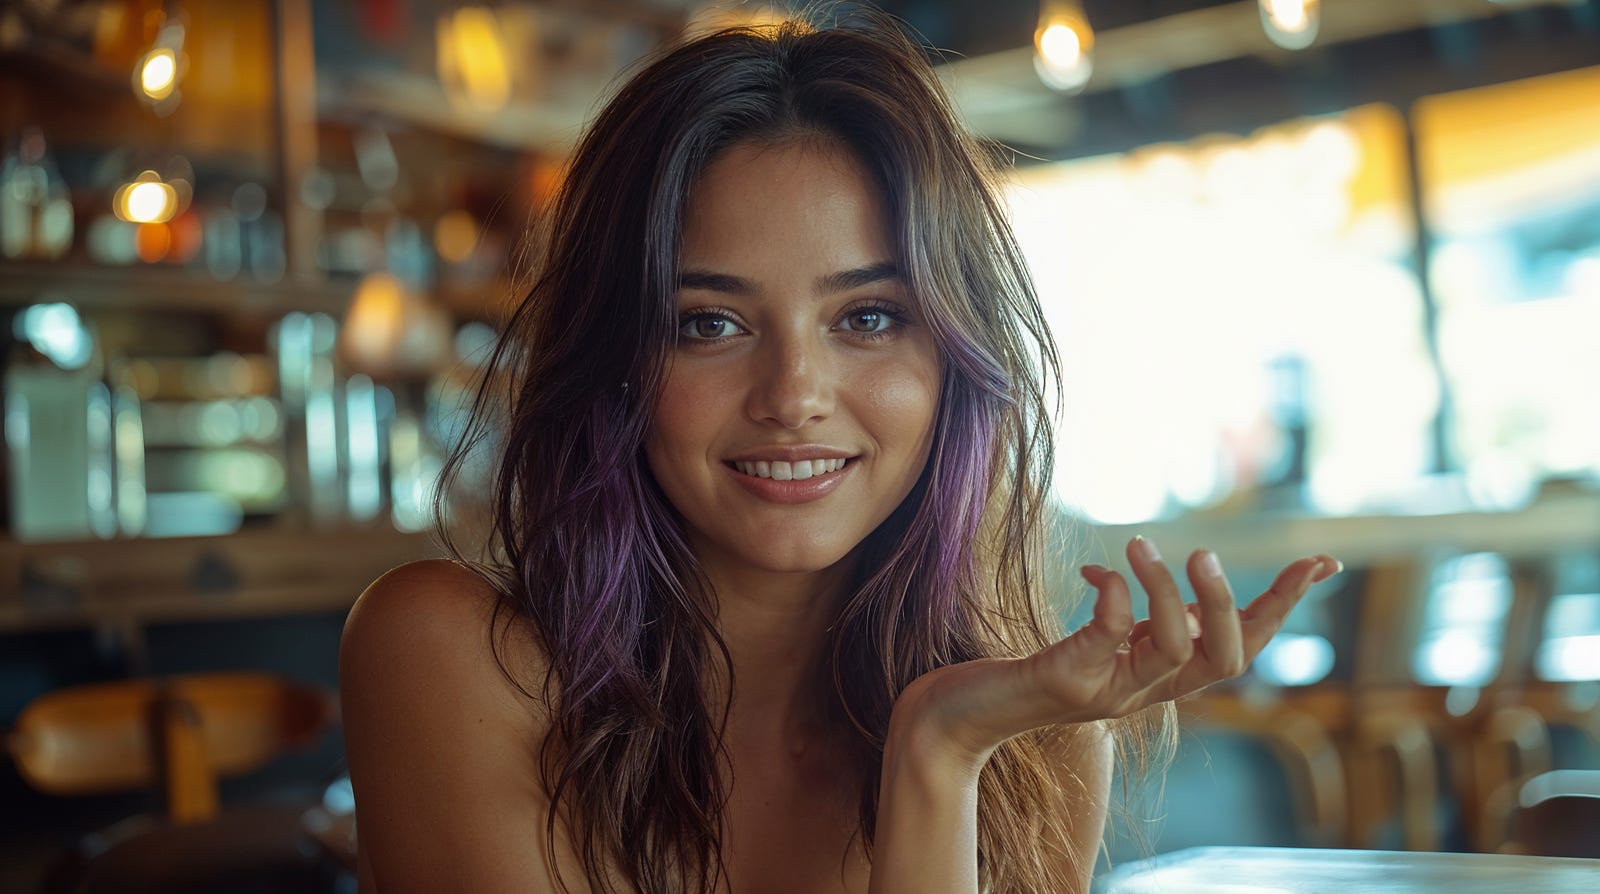
Here’s an image generated with Freepik using the same prompt.

Here’s the one I like best:
Play with the prompt and generate as much image as you want until you get the perfect shot for your AI influencer.
Step 2: Upscale the Image
For this step, I will be using Freepik image upscaler. This tool is powered by Magnific AI so there’s a guarantee that the result would be really awesome.

Here’s the final result:
I love how the tool adds texture to the skin and hair, making the overall image more detailed and lifelike. The difference is subtle but makes a world of difference when you’re aiming for that extra layer of realism.
Generative AI Publication is a reader-supported publication. To receive new posts and support my work, consider becoming a free or paid subscriber.
Another way to do it is through the TrueTouch feature from RenderNet AI to upscale an image. Simply go to RenderNet AI dashboard, select the TrueTouch feature and upload the raw image.

It’s equally powerful and offers a bit more customization in terms of how much you want to enhance the image.
Here’s the final result:

Oh wow, the level of detail on this image looks even better than the ones we did on Freepik. The skin texture is sharper, and the eyes—oh wow, they look incredibly real.
Step 3: Turn the Image into a Video
The next step is to transform the portrait images we created in step 2 to realistic videos. For this, we’re going to need help with AI video generator tools like Runway Gen-3, Kling AI, Vidu, or Dream Machine by Luma.
If you don’t want to pay for the premium service (like me), the best free alternative is Kling AI. Kling offers 66 daily video generation credits, which should be enough to create at least five 5-second video clips.
Head over to the Kling AI website and create an account. Go to the AI videos page and under the “image reference” tab, upload our AI influencer image.

Add the following description to help guide the AI on what kind of video we want:
Prompt: A woman smiling as she talks, use his hands as she talks, blinking eyes many times, looking at the viewer
You can play with the prompt however you want.
You can customize the prompt however you want. If you want your AI influencer to look contemplative, witty, or even slightly annoyed, whatever fits your vision, just keep in mind that the processing time can vary depending on how many other free users are in the queue. Right now, it could take anywhere from a few minutes to several hours. So, be prepared to wait.
Note: If you are on free tier, the generation time on Kling AI will depend on the queue length. In this example, the generation took almost four hours.
Alternatively, you can use Runway’s Gen-3 Turbo to turn the image into video. Right now, they are offering 300 generation credits for free.

A 10-second video consumes around 30 credits.
Awesome! She looks so alive. I love the expression on her face, she seem enthusiastic sharing her secrets as a viral influencer.
But here’s the thing: what exactly is she talking about? That’s where the next step comes in — adding narration and syncing her lips to it.
Step 4: Write a Script
Now that we’ve got the video, it’s time to give your AI influencer a voice. For this, you can use any free AI chatbot, such as OpenAI’s ChatGPT, Google’s Gemini, or Anthropic’s Claude AI.
Here’s a simple prompt to get started:
Prompt: Write a single paragraph script for a 10-second video clip of an influencer sharing about her secret in going viral.

“Want to know my secret to going viral? It’s all about consistency, creativity, and engaging with your audience! Post regularly, keep your content fresh, and always reply to comments. That’s how I turn followers into a community and every post into a hit!”
It’s short, sweet, and straight to the point — perfect for a quick influencer clip.
Step 5: Add Narration and Lip Sync
Now comes the final step — adding a voice to your AI influencer and syncing her lips to the script. For this, we’re using RenderNet AI’s Narrator feature.
Note 2: This feature is not covered by the 10 free daily credits provided by RenderNet AI. You have to purchase credits to use the feature. Generating a 10-second video clip will consume 367 credits.
To get started, log into your RenderNet AI account and head over to the Narrator page. Upload the video we generated earlier, and follow the prompts.

Note 1: Video must be in MP4 format, with a maximum resolution of 2560x2560 pixels and a maximum frame rate of 60 fps.
If you want to swap the face, you have the option, but in this case, we’re sticking with our original creation.

Click on the Next button and set the voice and the script (use the script we generated on step 3).
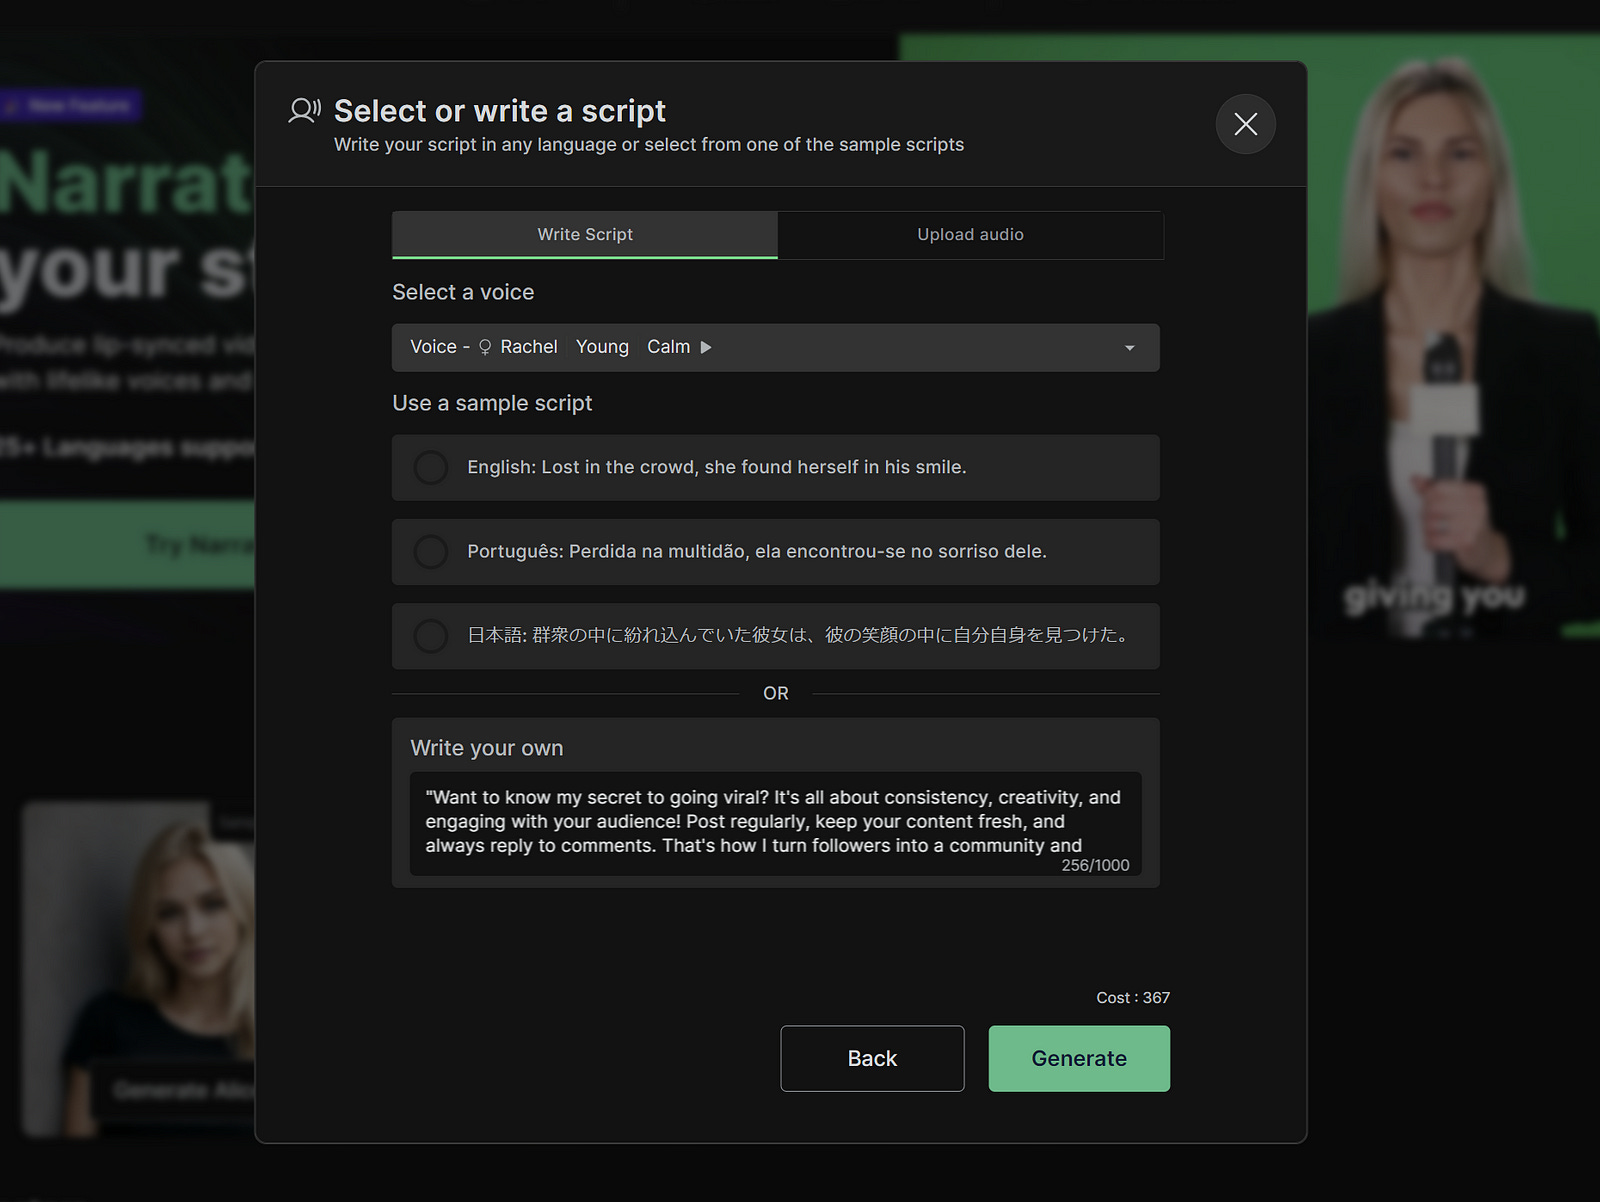
When selecting the voice, make sure to select the one that matches the AI character. In this example, I found the voice of Rachel to be the perfect fit for our AI influencer.

Finally, hit the Generate button and wait for the process to finish. You’ll be taken to the RenderNet Studio, where you can fine-tune the video if needed.
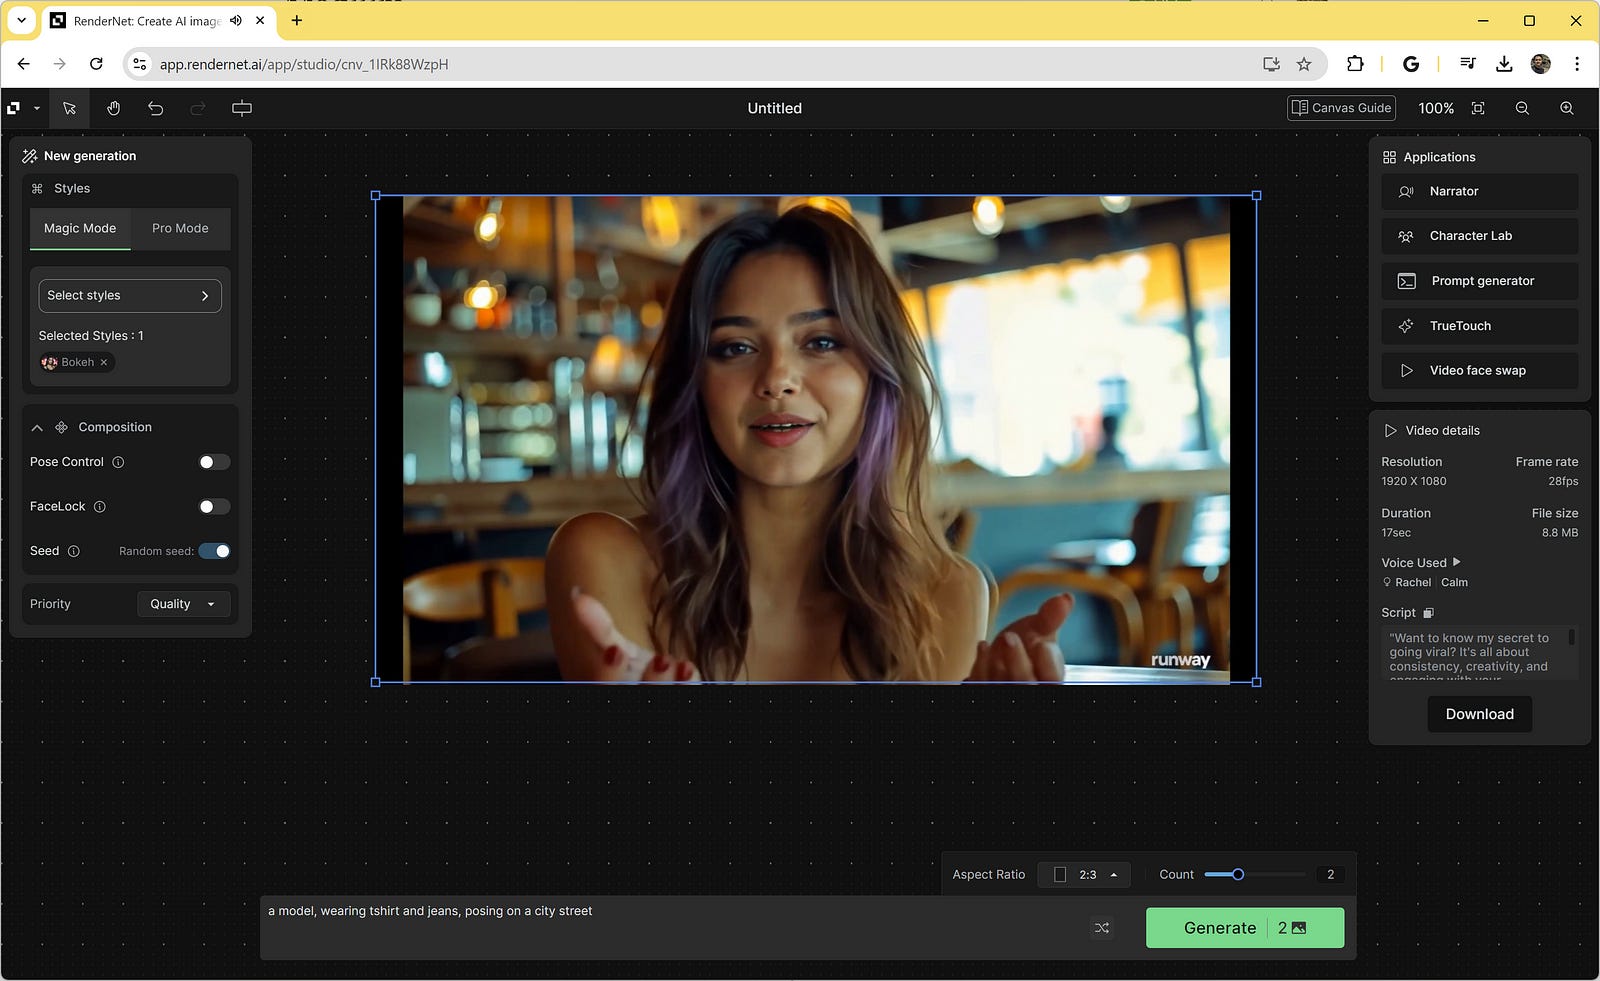
Once you’re satisfied, download the final result. And here it is—a fully lip-synced, talking AI influencer video.
This is so cool! I am so amazed by how this turned out. I know it’s not perfect, but it’s crazy how far this technology has come. I just made my own talking AI-influencer video in under an hour—that’s insane!
Final Thoughts
Overall, I had a lot of fun doing this experiment and am quite satisfied with the end result. It’s amazing to see what one person can create using various AI tools in a matter of minutes. The progress in AI is truly mind-blowing, and it’s only a matter of time before these AI models become even more powerful.
Imagine a future where anyone can produce full-blown TED Talks or detailed product reviews with just a laptop and an internet connection—all without ever having to record themselves. It’s a fascinating thought, but also quite scary at the same time.
It’s important to acknowledge the potential risks that come with this technology. Deepfakes, fake news, and political propaganda could easily spread if regulations are not put in place. Guys, let’s all use these tools responsibly.
Stay ahead. Stay updated.
Browse by category
Software engineer, writer, solopreneur


.jpg)
.jpg)
.jpg)